I don’t know about you, but I am terrible at organizing my necklaces. I’ve tried lots of different organizers but they always end up a jumbled tangled mess. And then I end up not wearing them because of the time it takes to get everything untangled!
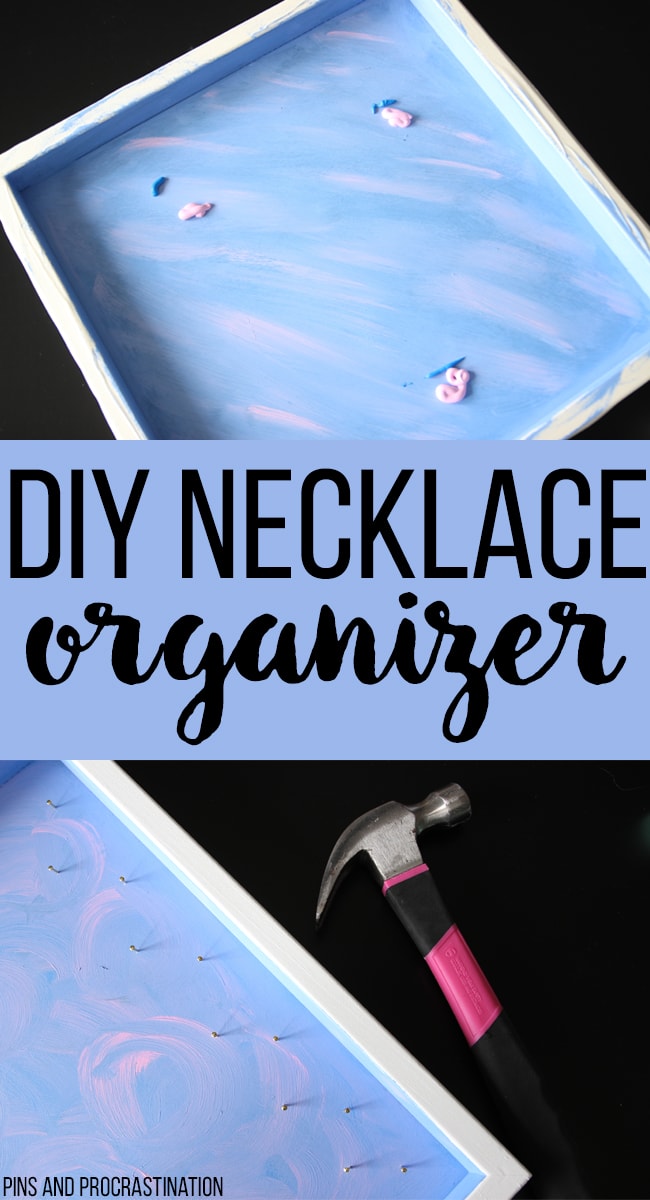
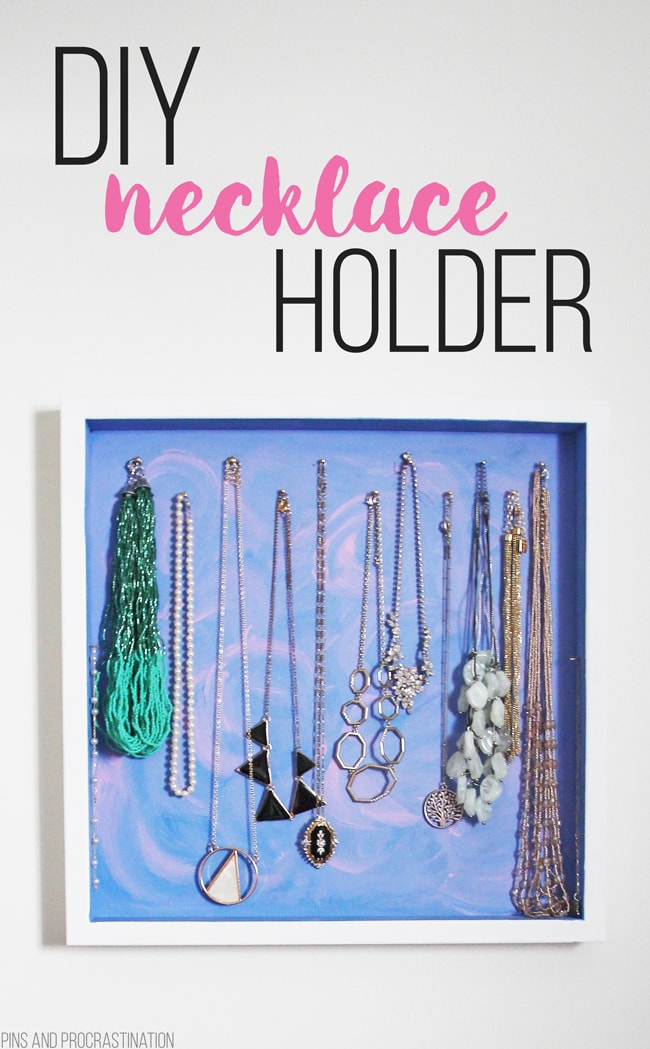
I decided I needed to fall back on one of my favorite organizing tricks and use hooks. When I’m looking for an organizational solution, I always want something that is quick and easy to use. If it isn’t, I never end up putting anything away. So open hooks seemed like the perfect solution for necklaces. So I got to DIY-ing, and came up with this DIY necklace holder.
And it has been working great for me! Not only is it effective for organizing, the DIY necklace holder looks attractive and brightens up my closet. Safe to say, I’m very pleased with it. Add to it the fact that it took me about 20 minutes total to make, hang, and add all my necklaces, and I couldn’t be happier!
Tools and Supplies you will need:
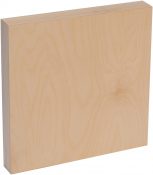
- A wood backing (I used this wood canvas after it failed at another DIY project, but you could also repurpose an old drawer or wood panel)
- Craft paint
- Paintbrush
- Masking tape
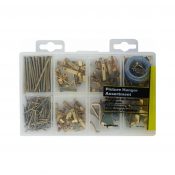
- Small nails
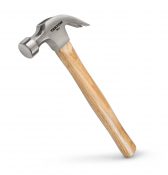
- A hammer
- Command picture hanging strips
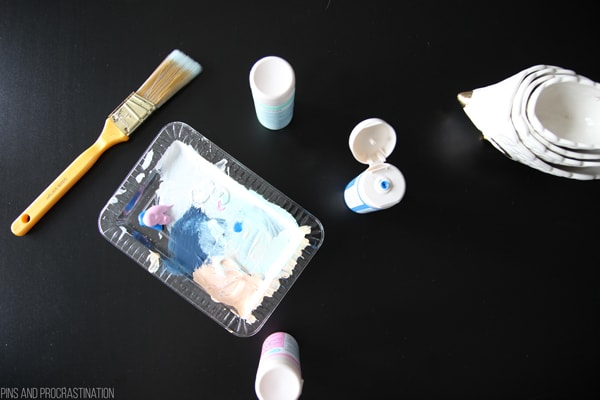
Step One: Paint the wood backing
I used the inside of a wood canvas for my necklace hanger. I painted the outside of it white, and let that dry for about an hour. I put masking tape over the white so that I could paint the inside a different color.
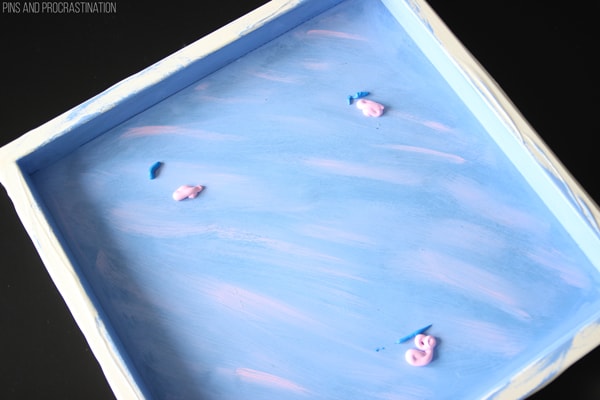
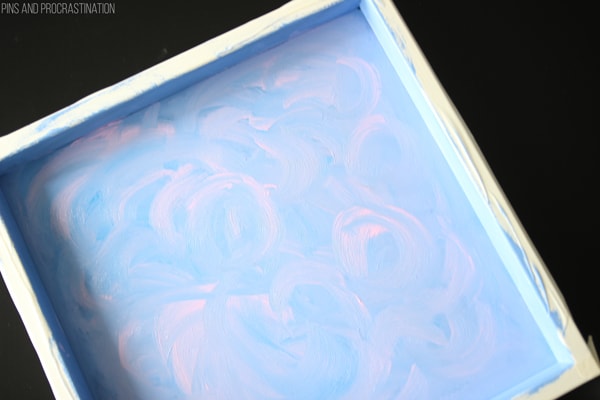
I wanted the inside to have a marbling effect. So I painted the back a light blue, and let that dry. I then added glops of pink and blue paint together and messily swirled them around so that the brush strokes were still visible. I continued this until I got a pattern and look that I liked.
Step Two: Add the nails
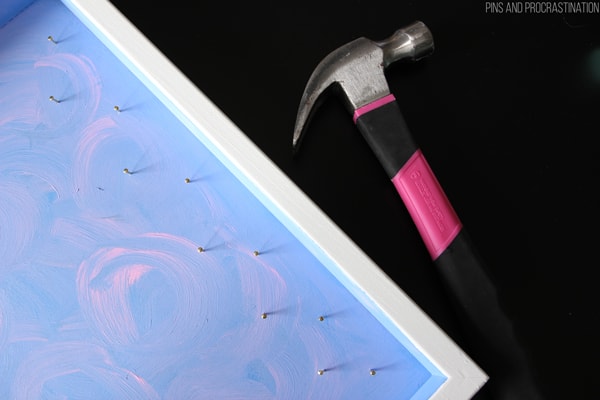
I started out measuring and marking out the nails at equal intervals, but I never end up liking things that are perfectly spaced, so I ended up eyeballing and estimating where to put the nails. I just nailed each one in so that it was secure, but sticking out far enough so that you could still hang a necklace on it.
Step Three: Hang!
The last step is to hang your new organizer. I have recently discovered and fallen in love with command picture strips. I used four to hang this on our wall. They are super easy to use, and if you hang your holder crooked (which I always do on the first try) you can easily reposition and adjust it.
Then all you have to do is hang your necklaces- and you’re ready to go!
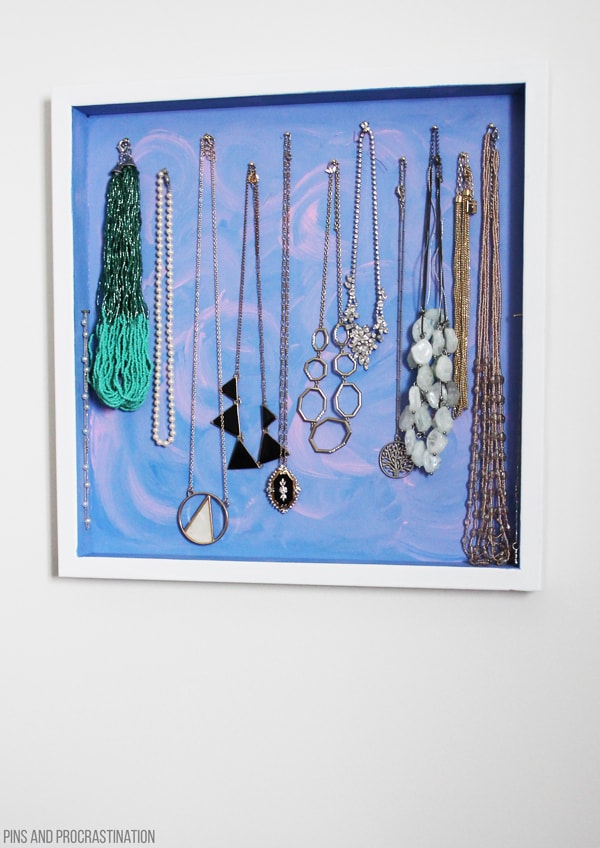 I love my new DIY necklace holder! It looks so bright and cheery. It’s already been very useful at organizing my necklaces.
The added benefit of making this necklace holder was that I had to round up and untangle all of my necklaces, which was not a short process. It’s been so long since I’ve sorted through them all that I actually forgot that I owned a few of them! That just goes to show how much I really needed to make this.
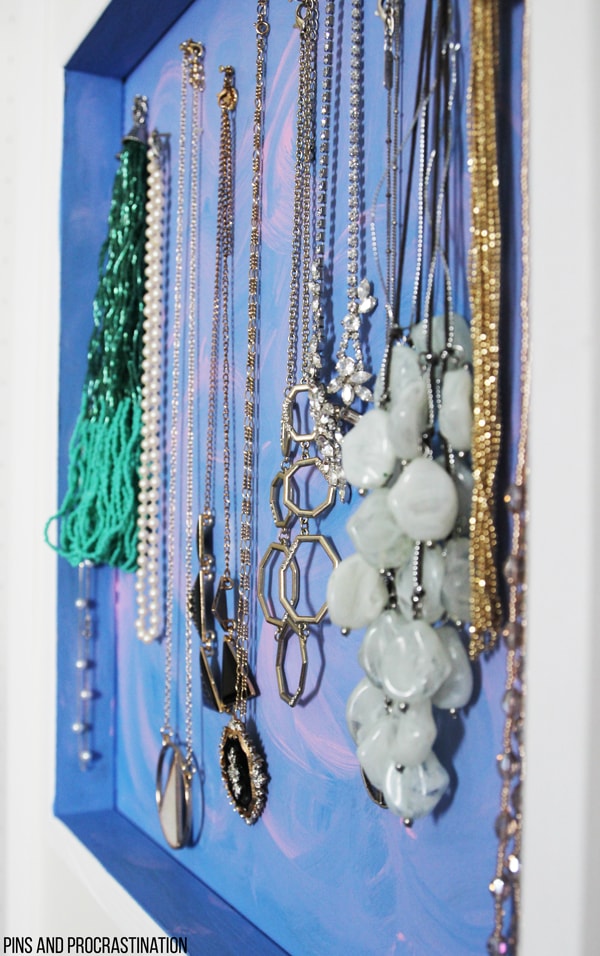
And, as organizing goes, the best solutions are always simple and easy to use. It takes absolutely no effort on my part to hang a necklace up, and definitely is easier for me to find them.
I love it when organizational solutions become part of the decor as well. This DIY necklace holder blends in seamlessly, adding both style and function.
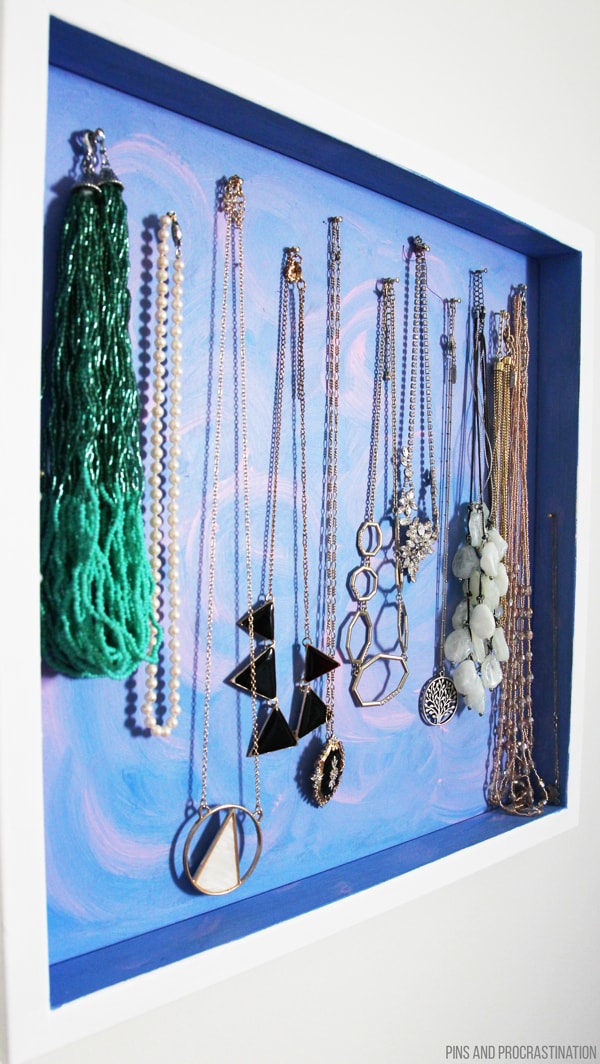
Now that my necklaces are easier to find and access, I’m definitely wearing them more. I could not be happier with this easy DIY!
So- what do you think? Are you ready to make one yourself? Happy DIY-ing!
Supplies used in this post
 |
 |
 |
 |
 |

Leave a Reply