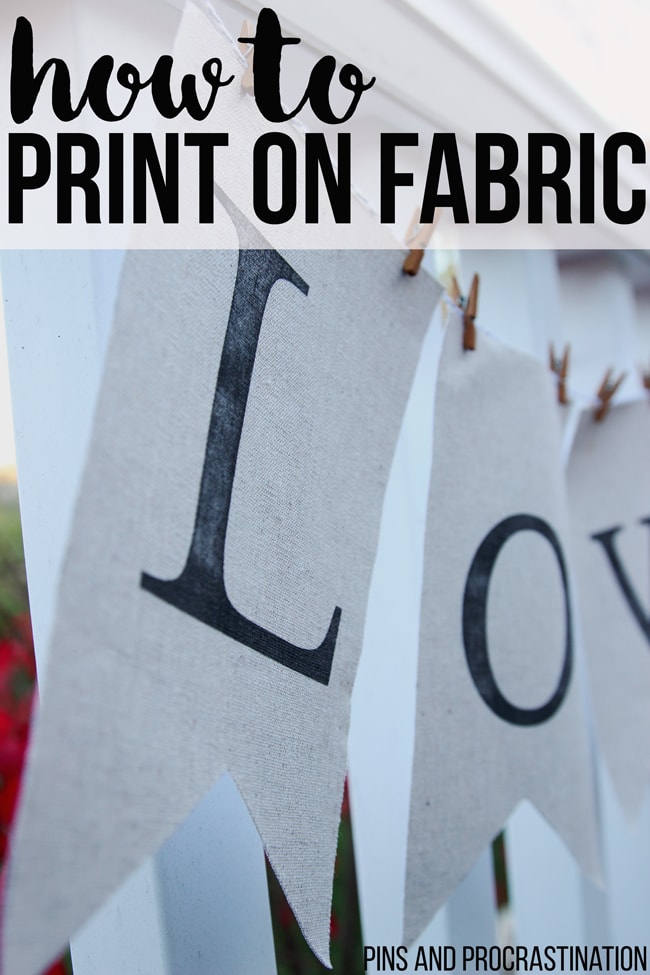
There’s so much to love about printing on fabric! It removes the mess and potential error from using stencils, and you have so much more flexibility in what you can make. You can print anything from your computer, including text and photos. Plus it’s super easy!
Ever since finding the original tutorial from Ella Claire I’ve loved this easy craft. It’s perfect for wedding decorations, awesome wall art, amazing printed photos, or for adding simple patterns to fabric to sew. Using fabric instead of paper in a banner makes it look much more sophisticated. Honestly, there are so many great things you can do once you realize just how easy it is to print on fabric!
I can’t emphasize enough how easy this craft is. If you can even call it a craft- because it will just feel like printing on plain paper. So just keep scrolling to read the whole tutorial.
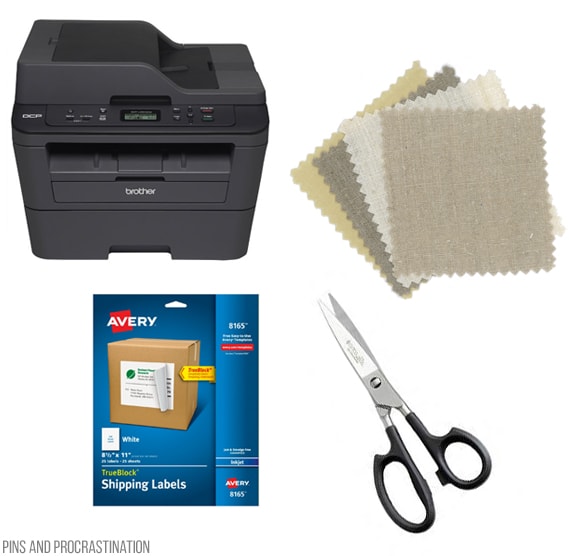
Tools and Supplies:
- Printer (I love my brother printer)
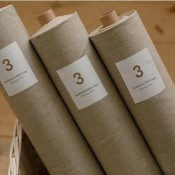
- Fabric (I used this fabric)
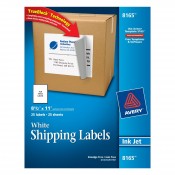
- Full page printable labels
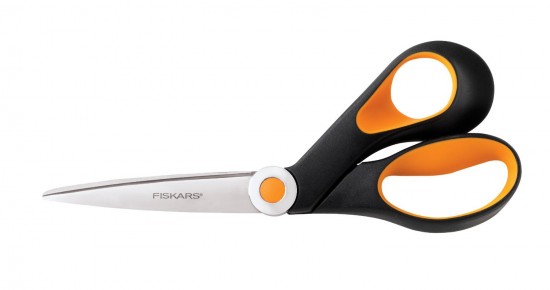
- Sharp pair of scissors (I’m obsessed with my cutco scissors, but here is a less expensive one!)
- Iron (I love my iron!)
All right, let’s get started!
Step One: Iron fabric
It’s important to have wrinkle free fabric so that it doesn’t get caught in the printer. You’ll want to iron out all the kinks. And, for good measure, you can use a little homemade starch spray to keep the stiffness.
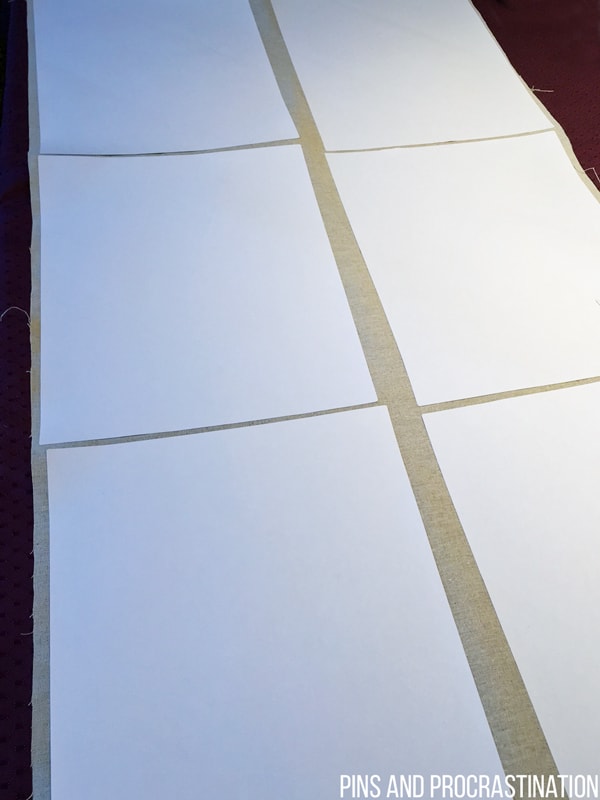
Step Two: Stick labels to fabric
This is the genius part that makes printing on fabric so easy! The trick of printing on fabric without issues is to make your fabric paper-sized and stiff so that it goes through your printer easily.
Luckily, this is super easy to do with full page labels. All you have to do is peel the labels off the backing and stick them firmly to the fabric.
I was able to get 10 sheets of “paper” out of 1.5 yards of fabric. Try to find the most space efficient way to lay your labels out on your fabric. Don’t worry about making them straight or equidistant because you will just be cutting them out. You can see how I laid mine out above.
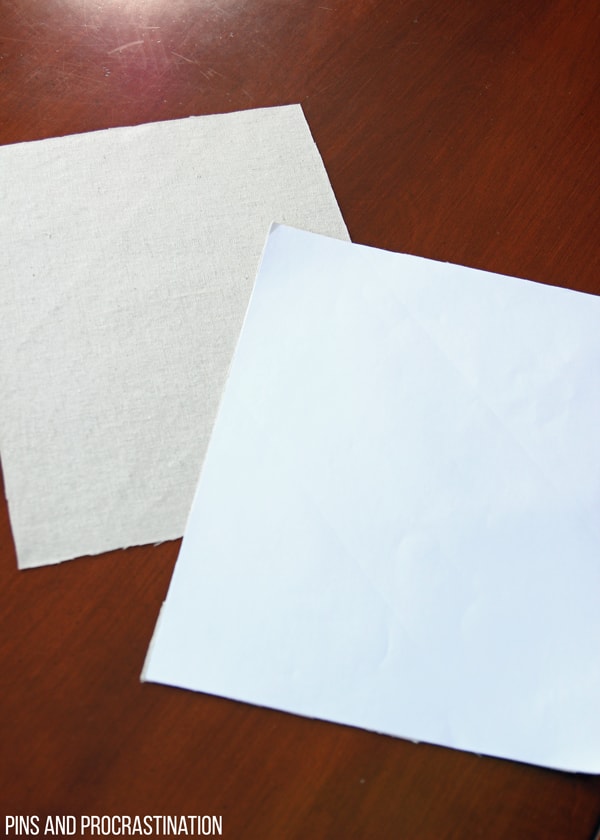
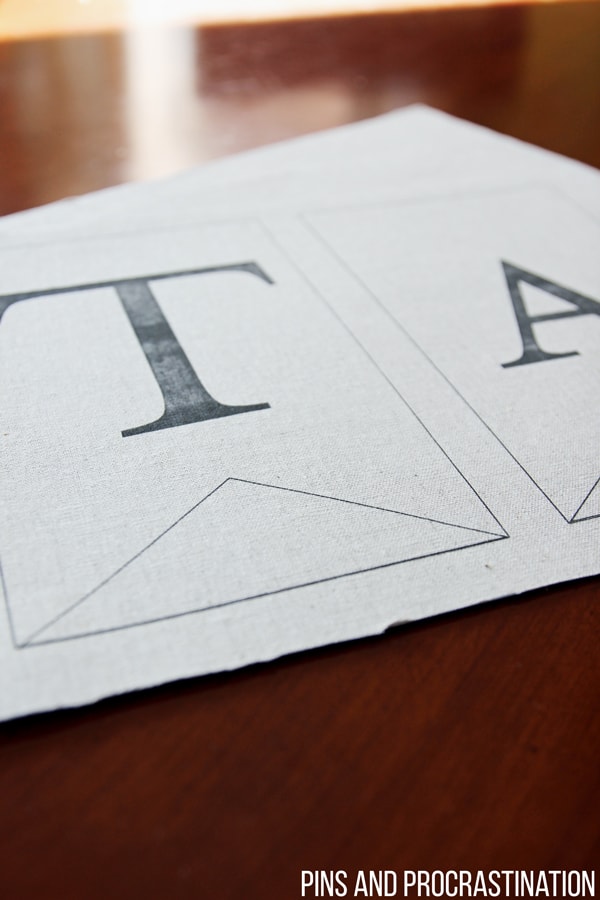
Step Three: Cut to paper size
It’s really important to use sharp scissors, or this will just be a frustrating frayed mess. I tried with regular craft scissors at first, but ended up switching to my amazing cutco scissors. Cutco or not, sharp scissors will make this so much easier.
Simply cut around your full-page labels. When cut out, this should leave you with printer sized sheets of fabric (8.5×11 inches). One side will have the fabric on it, the other the label. See the photo above.
Step Four: Print
Now we’re at the last step- actually printing! It could be really easy to mess up and print on the label side instead of the fabric side, so make sure you do a test sheet. Make sure you mark where it is loaded so you know how you should load your fabric “paper” into your printer. You can use your test sheet as a guide. For example, if the mark you made was facing up and it prints on the opposite side, you will want to load fabric side down.
I loaded mine one sheet at a time, with no other paper in the paper tray, so that the printer doesn’t have the chance to accidentally pull up two sheets. I also made sure to trim any frays from the edges so they wouldn’t get caught in the printer.
Make sure you set your printer setting to “thick paper.”
And that’s it- then you’ll have your amazing printed fabric! You can just peel off the labels and your fabric will be ready to go.
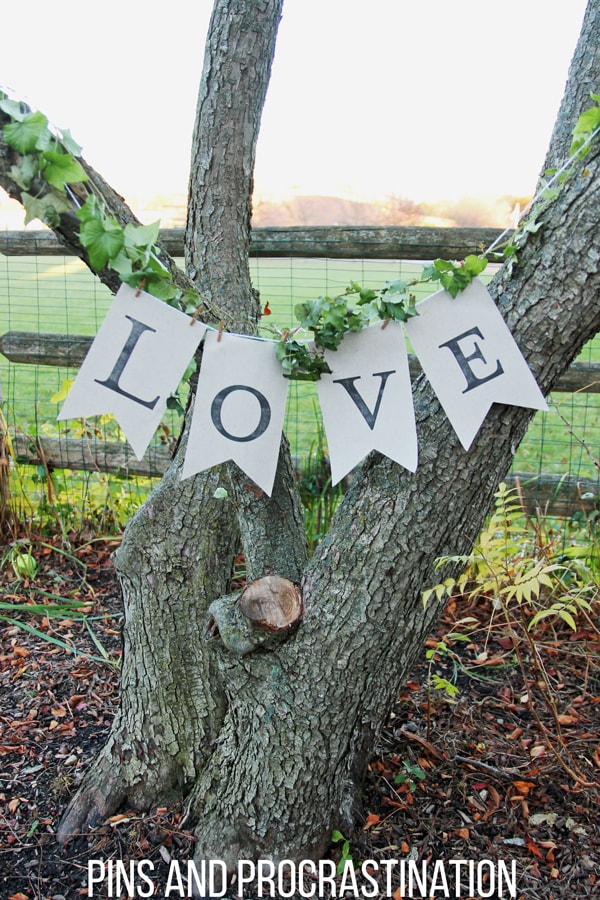
I’ve used this tutorial to make an amazing fabric banner, but the applications are endless! You can use this to print out a design that you then can sew, or for some next level wall art.
Any way you use it, this is an awesome craft! Let me know how printing on fabric goes for you.
Supplies Used in This Post
 |
 |
 |
 |

Christene Holder says
I never thought of making a banner this way but I love this! It’s so easy! It also looks super professional and no one would ever know you just printed it off your computer. Thanks for sharing this tutorial :)