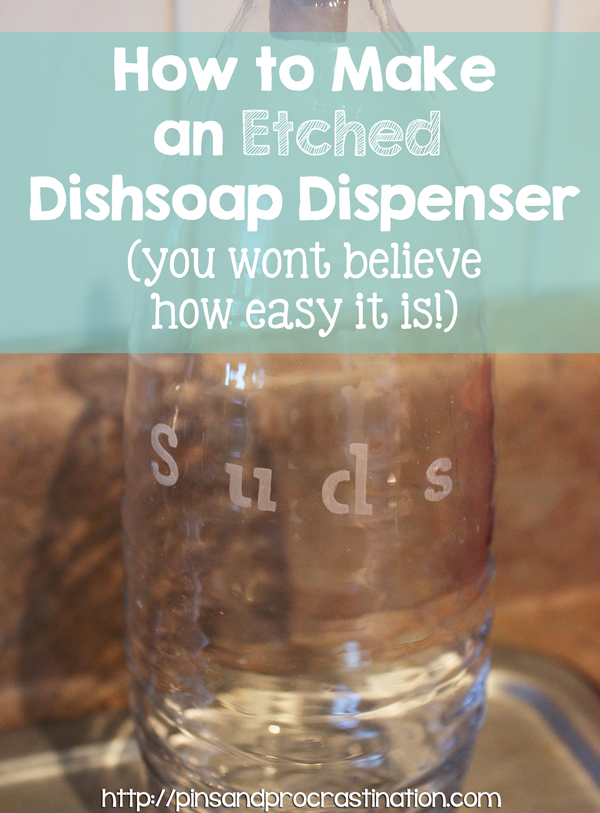
Having a good looking sink area really elevates a kitchen. A fun and good looking dish soap dispenser really makes a difference! I was getting sick of leaving out the dish soap bottle on the sink, but I didn’t want to spend a crazy amount of time making something complicated. Luckily this project was inexpensive and easy- and it only takes about 10 minutes to complete!
We were just about to run out of dish soap, so I figured it was a good time to make a new dish soap dispenser! I was also planning to make our own dish soap- but that ended up being a huge failure and unfortunate waste of ingredients. I guess that’s the risk you run when you try/ tweak recipes from pinterest. (But I’m not giving up yet!)
I’ve seen tutorials on how to make all kinds of etched glass things- monogrammed glasses, mason jars, glass decorations, you name it. Well, a glass olive oil bottle makes a perfect canvas for an adorable dish soap dispenser.
And seriously, you won’t believe how easy it is! Even the craft-challenged can take this craft on.
Supplies:
- A glass dispenser (olive oil bottle or mason jar with a pump work well)
- Etching stencils (these are the best, in my opinion)
- Armour Etch Cream (I recommend buying this in a craft store rather than online- it was more inexpensive for me and easy to use a coupon)
- Masking Tape
- A cheap paintbrush or sponge brush
Step One: Apply Stencil and Tape
Make sure any fingerprints or dirt are washed off the surface you want to etch. Dish soap works fine.
The Martha Stewart Stencils are my favorite because they stick to your glass and they are reusable. Pretty awesome.
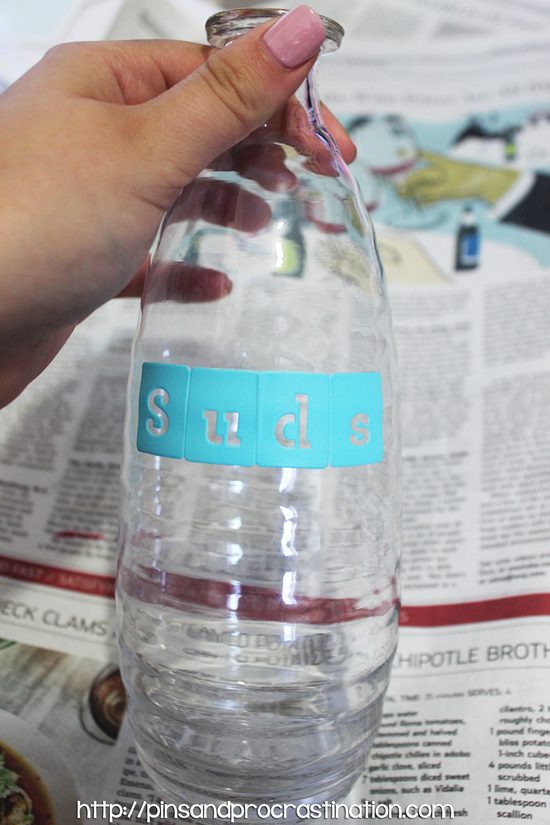
Lay out the design you want to etch, making sure the stencils overlap each other slightly. Then, surround the design with masking tape, overlapping the stencil. I decided I wanted my bottle to say Suds because it is more fun and adorable than Dishes or Soap. You don’t need to limit yourself to letters- you can do any kind of design you like.
Step Two: Apply Armour Etch Cream

Using a cheap paintbrush or sponge brush, apply a thick layer of armour etch cream. Make it thick enough so you can’t see the design through it. Even thicker than in the picture above.
Let the cream sit on the bottle for a minute or two, and then….
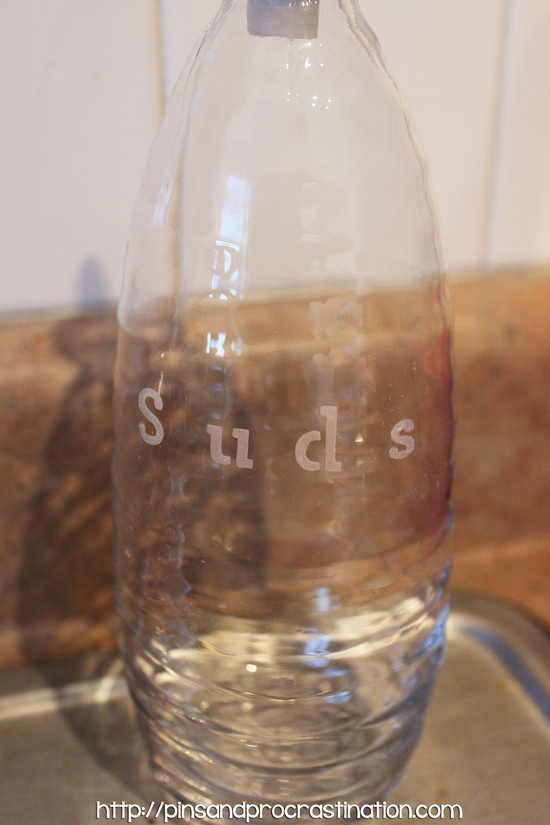
Step Three: Rinse Cream
Simply rinse the cream off under a stream of lukewarm water. The stencil may get displaced, but it’s fine, because the etching is already done! If you want, you can use a glass cleaner after rinsing the cream off to get that extra shine.
Step Four: Admire!
Check it out- you made that! And it was super easy. Now show it off to your friends and let them think you are an expert etcher…
I think these would make a great DIY gift! Don’t you?
Even though I don’t have any homemade dish soap to fill it with, I still think it is adorable. I’m still gonna keep trying homemade dish soap recipes- don’t you worry. And I will only post one if it is successful.
I challenge those of you who think you are bad at crafts to try this one out! Send me a picture of the results, and I will post them on the blog! Seriously, this craft is so easy- anyone can do it!
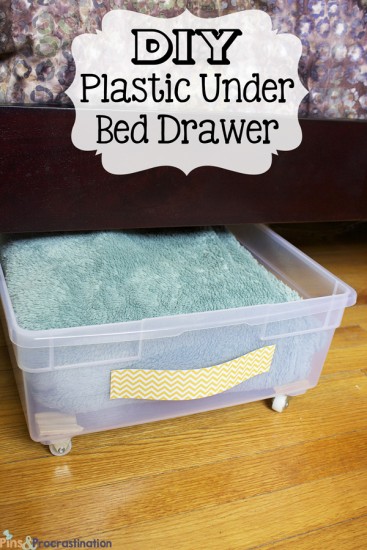
If you liked this post, you should check these out too:
![]()

Leslie says
I love making these. I have a few all over the house. They’re fun and they don’t take long at all.