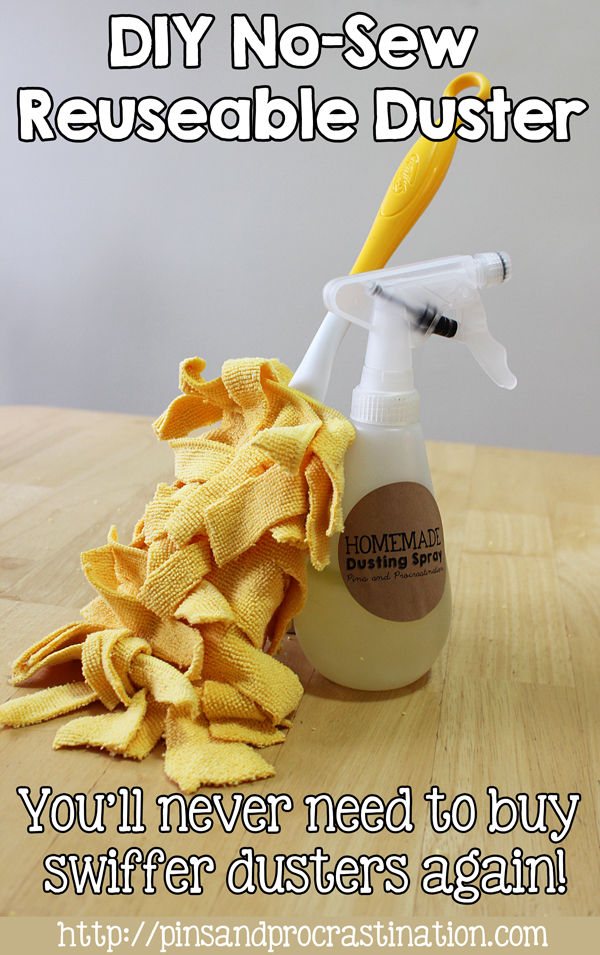
I’m not a big fan of dusting. I especially hate it because I hate creating the waste of throwing the duster away. But, it’s definitely a necessity. So if I’m going to do it, I want to do it as greenly as possible. Enter: the reusable duster. I don’t think it will disappoint.
I didn’t want to squeeze too many words into the title, but this duster requires no sewing, is reusable, AND it’s machine washable! It hit all the things I want on my list for a duster. And I actually think it’s pretty darn cute.
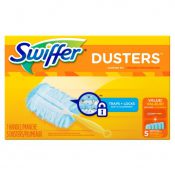
It works perfectly with the swiffer duster handle. Instead of buying more disposable duster heads, just make one or two of these reusable dusters and switch them out between washes. Couldn’t be easier.
And trust me, it’s so easy even you can make it.
Step one: Gather supplies and cut cloths
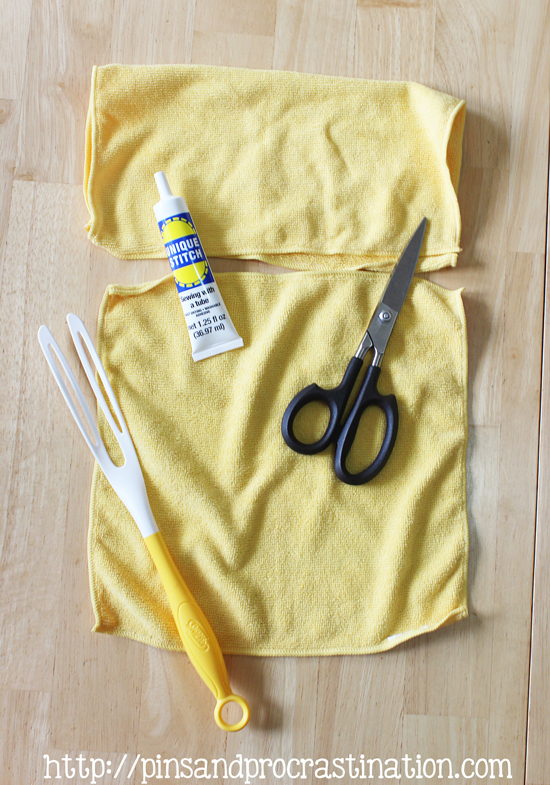
The supplies you will need are:
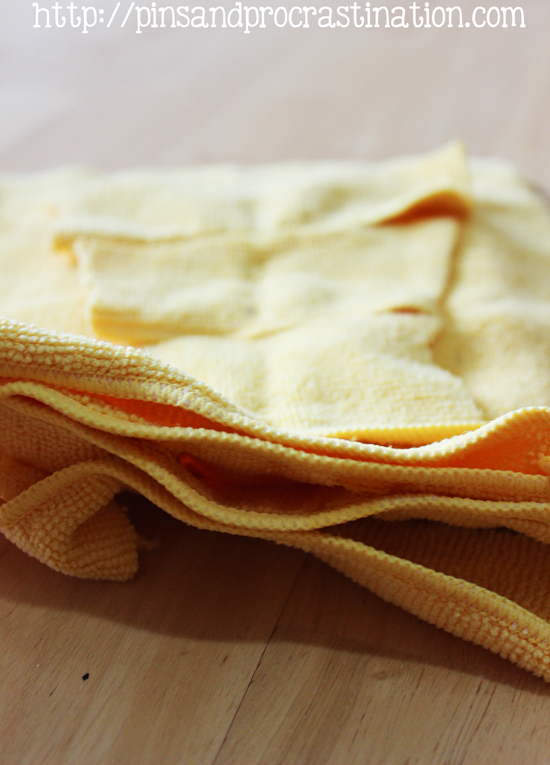
- 2 microfiber cloths (mine were 11″x11″)
- Unique stitch fabric glue
- Scissors
- Swiffer duster handle
The unique stitch is the key to making this without sewing. I get mine on amazon and it’s definitely worth it.
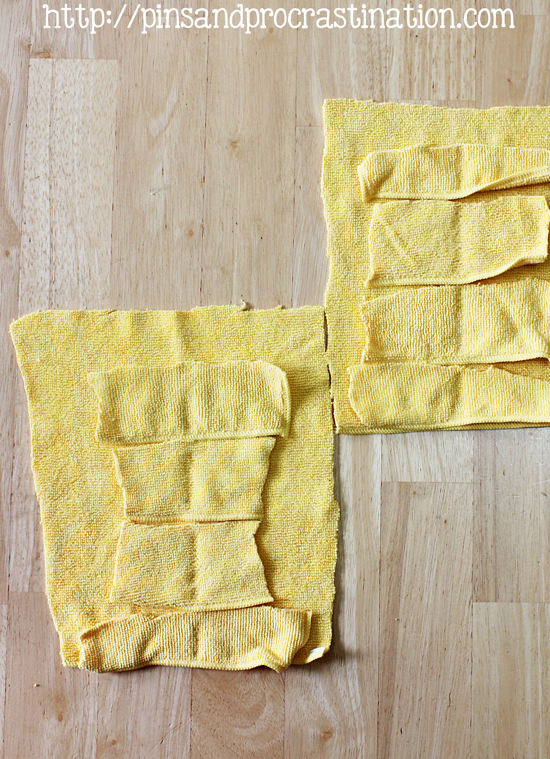
Once you have your supplies in order, you need to trim the cloths if they are too big (like mine were). Trim in a U shape, so you will be left with 3 long strips of extra fabric. I trimmed about 3 inches off each side.
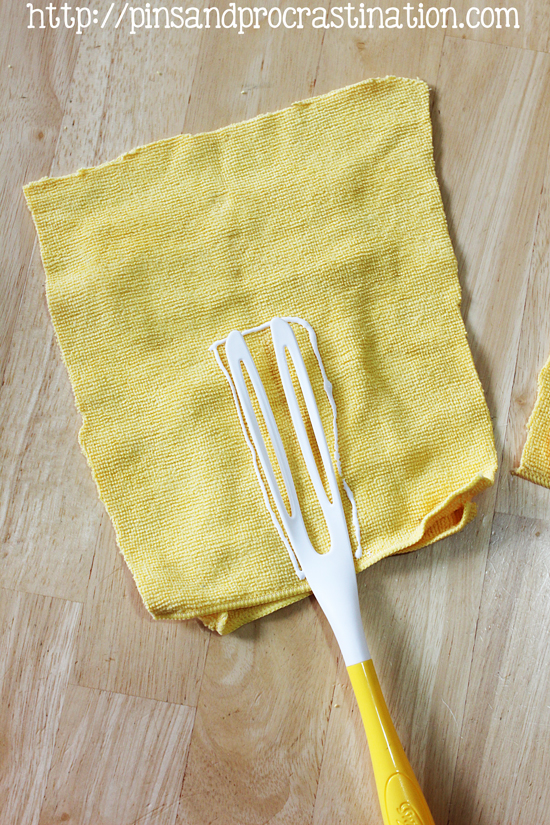
Step two: Glue outside pieces
Using the leftover strips from when you trimmed your cloths, next you will make a shorter outside layer. Cut the strips in half and using your unique stitch, glue them along the center.
In the picture above, you can see indentations where the glue is.
These pieces will become the outside of the duster. You might want to break for a few minutes (or longer if you are more patient than me!) to let the glue set a little.
Step three: Glue opening
Turn one cloth over so the small strips are facing down. Using your unique stitch, trace the handle you intend to use on the cloth.
Make sure you leave enough space at the bottom for the handle to go in. I actually ended up widening mine at the lower part so that the handle would fit.
Then just press down your other cloth onto the glue with the small strips facing out and let dry.
You can see what the opening looks like above.
You might want to test that your handle will fit after letting it dry for a half hour or so. That way the glue isn’t completely set and you can still fix it if you made your opening too tight. You want it to be as tight as possible while still having room for the handle.
Step four: Cut strips
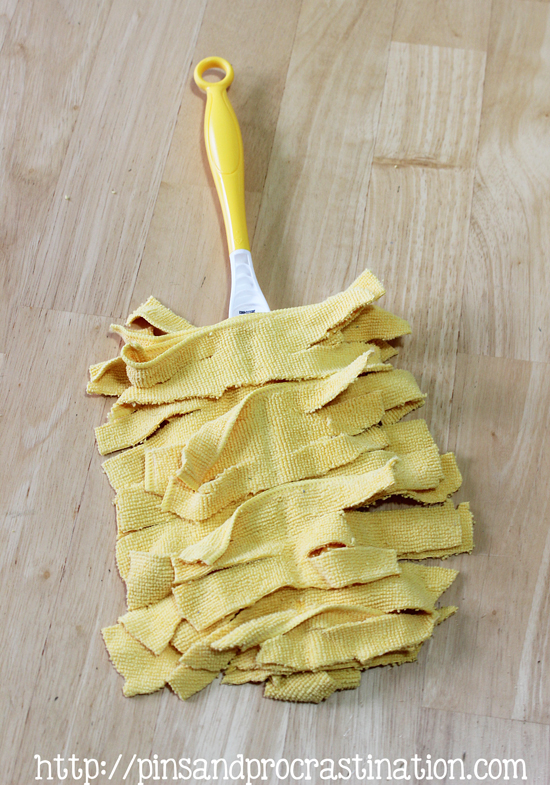
After letting your glue dry for at least a few hours, it’s time to cut strips into your duster. Simply cut 1″ wide strips towards the center, without clipping your glue seams.
If you made it too long, now is the time to trim a little off the top. I also trimmed mine so it had rounded edges.
And that’s it!
Now get dusting!
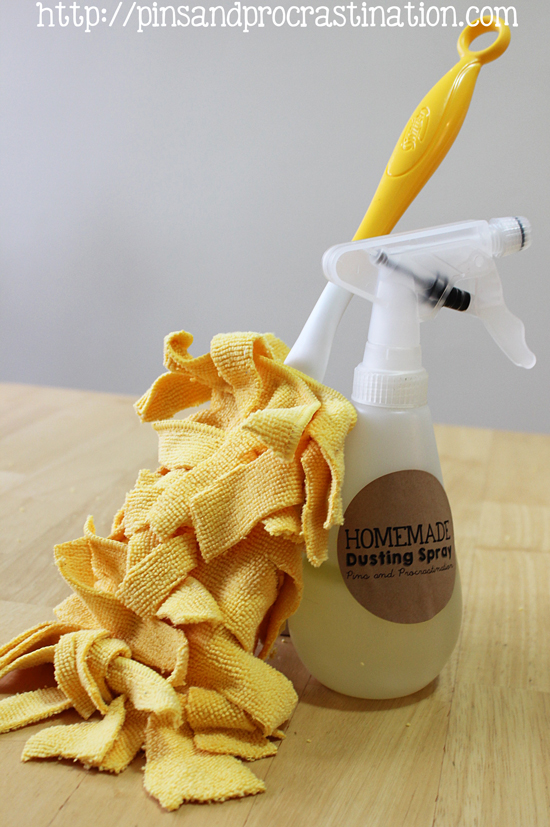 This duster works perfectly with my homemade dusting spray! Say goodbye to swiffer and pledge, because you’ve moved on to better products.
supplies used in this post
 |
 |
 |

Leslie says
These are awesome! I’m not one for dusting, I isually get my mom to come over and do it twice a month. I could easily do this though. I’m also going to tell her about this, she cleans houses & she goes through a ton of those dusters. She’ll love this! Thanks for sharing.