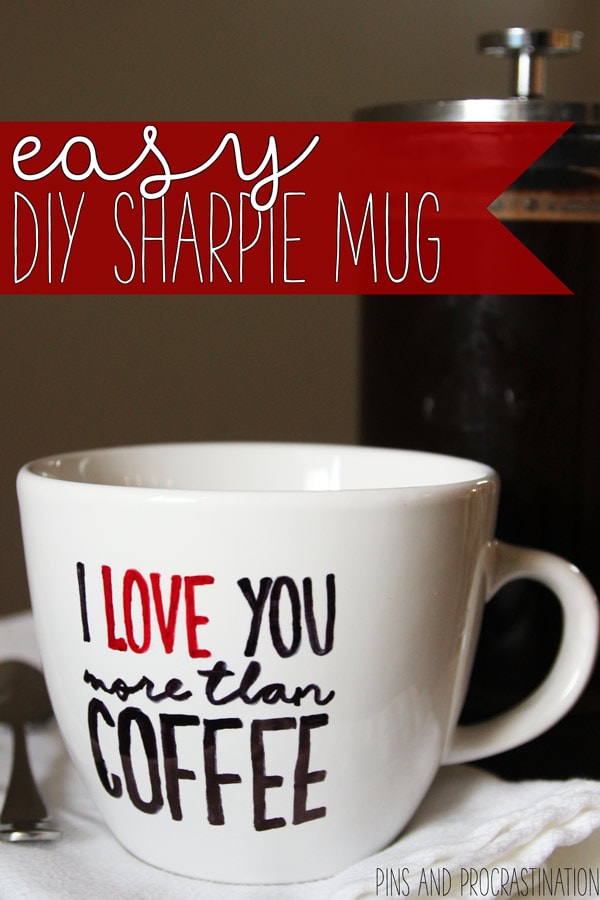
It’s quite the compliment when a real coffee lover tells you that they love you MORE than coffee. You and coffee are probably the only two things they can’t live without. This DIY sharpie mug is the perfect DIY gift for the coffee lovers in your life! I made one for my husband and he really loved it. Plus it was so fast and easy to make, and only cost me about $5 to make! For a sweet and personal gift- that is a great deal!
I had a lot of fun making this mug. If you want to make one too, read on, and I’ll tell you how!
First things first, you’re going to need the design for the mug. If you want to use the one I used, you can download it by clicking the picture below. But the great thing about this DIY sharpie mug is that it is versatile and you can customize the mug to say whatever you want!

Supplies:
- A plain mug (I got mine at Target in the clearance section, but here is a great one.)
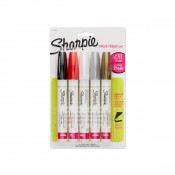
- Oil-based sharpie paint pens (if you use regular sharpies, the design will wash off)
- A mechanical pencil
- Masking tape
- The design you want on your mug printed to actual size
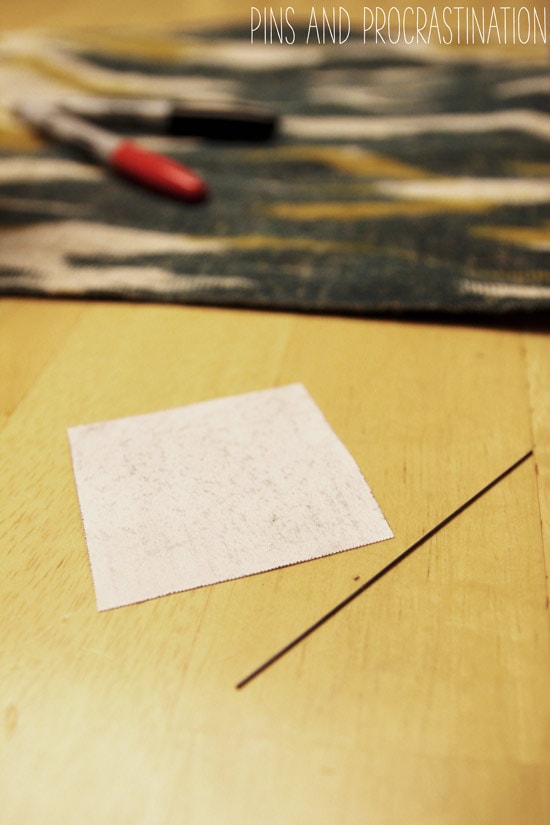
Step One: Print and Shade Design
The first step is to choose the design for your mug. I chose handwriting-type fonts because I knew that my hand isn’t perfect and I tend to make little mistakes. In case you are wondering, the two fonts I used are The Hand and Shoreline Script.
Next, print out your design and cut it out so it isn’t surrounded by extra paper.
Use the lead from your mechanical pencil to shade in the entire back of your design, like you can see below. The darker it is, the easier it will be to trace.
Step Two: Trace Design with Pencil
The next step is to trace your design onto the mug. Make sure you have washed and cleaned your mug before you start. You want to trace slowly and carefully.
To trace the design, tape your design onto the mug with masking tape. The side you just shaded in should be touching the mug and the design should be facing out.
Put the lead back into the mechanical pencil, and trace the outline of your design, pressing a little harder than you do when you write. I turned my mug on its side to do this.

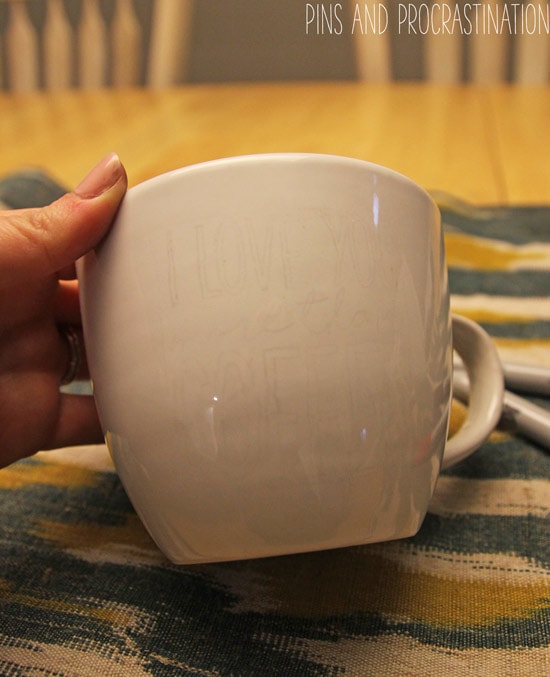
Step Three: Trace Design with Sharpie
First, remove the tape and design from your mug. You will be left with an outline in pencil that you just traced. You can see my outline in the picture below.
You should now go over and fill in the design with your sharpie.
Step Four: Bake Mug
Preheat your oven to 350 degrees F. When your oven is ready, cook your mug for 30 minutes, then turn off the oven. Leave the mug inside and let it come to room temperature. This will prevent any cracking,
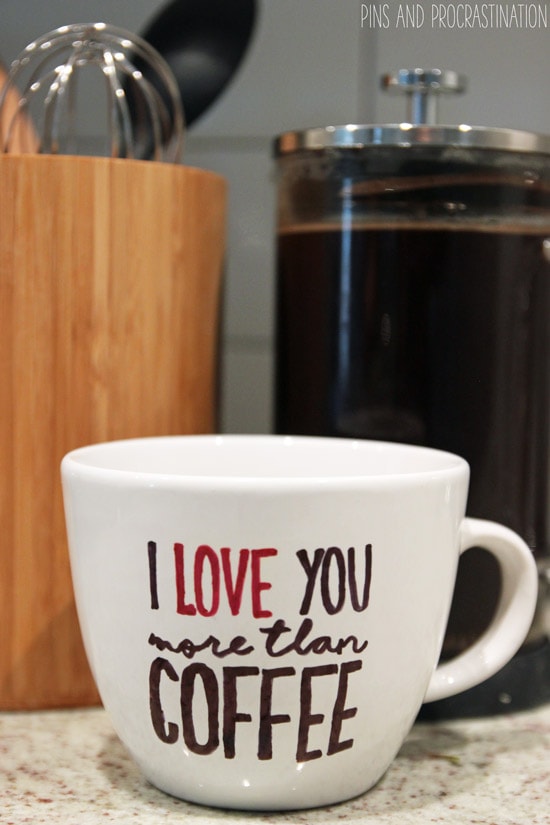
And now your DIY sharpie mug should be ready to go!
Unfortunately, this mug is not dishwasher safe, and should be washed by hand. But other than that, I think it is absolutely perfect!
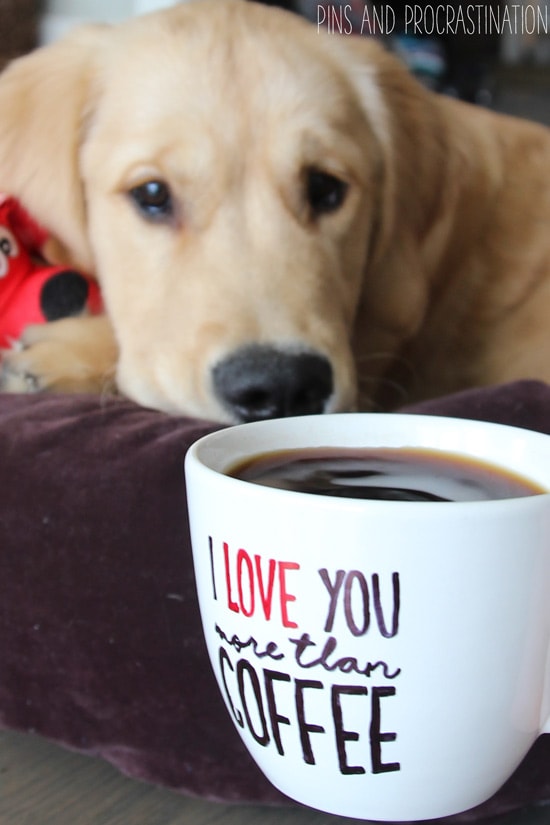
I mean, come on, that is a darn cute mug. Lars definitely agrees:

He really loved it, and was super impressed. He is often impressed by how good these DIY projects come out- but I always say they are easier than they look! This DIY Sharpie Mug only took me about 20 minutes plus baking time. Really a great DIY!
Anyone with an ounce of creativity can make these. And if you don’t have an ounce of creativity… you can just copy the design I made and follow the tutorial exactly!
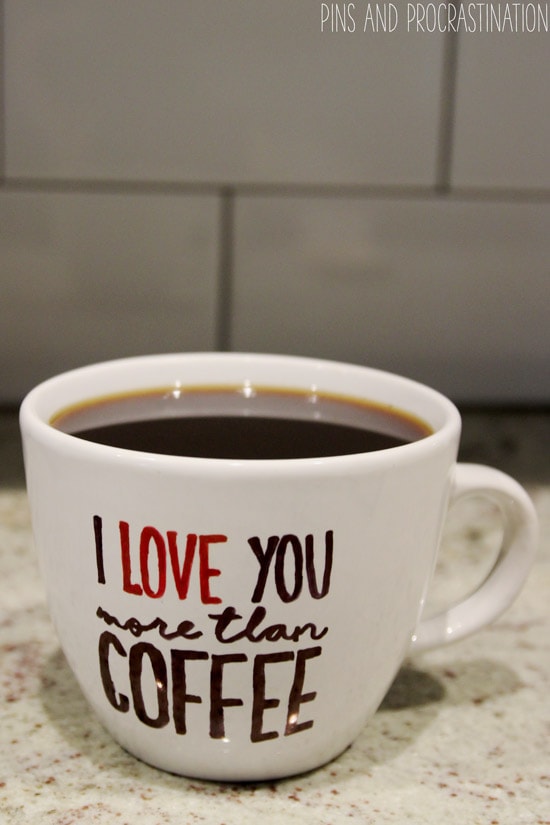
I mean, c’mon, that mug looks pretty great with coffee in it.

Even Biscuit loves it… that dog would eat or drink anything we let him. He actually was begging to get some coffee. I don’t think the cute mug hurt…
Biscuit, for the record, I love you more than coffee too!
Let me know how making your own DIY Sharpie Mug goes for you!
supplies used in this post
 |
 |
 |
 |

Amanda @ The Kolb Corner says
Great tutorial! Love the way it turned out. Thank you for sharing with us at Merry Monday!